As promised, a tutorial. However, I have a confession. I postponed the tutorial because a friend asked if I could show her how to make a pillowcase dress. Myself having a pattern and fabric set aside for this project, I just had to take the opportunity to make them. Next post you will see why it was a priority.
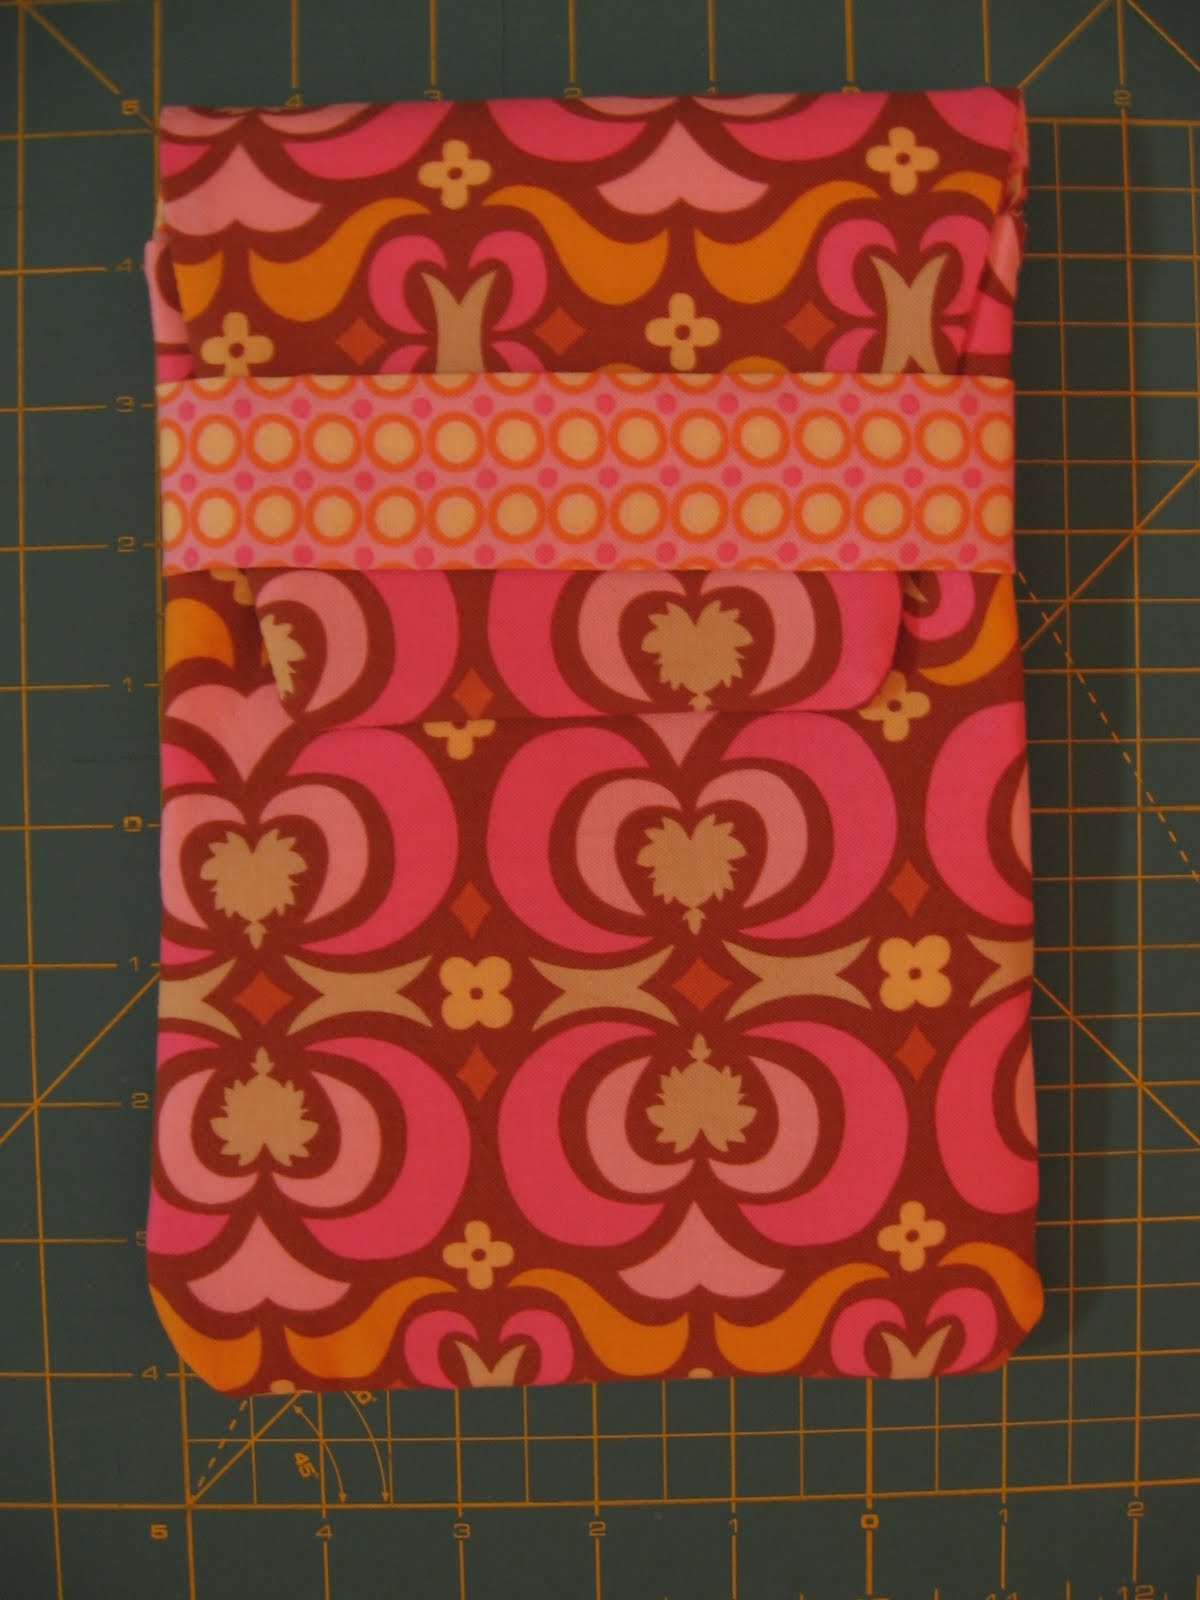
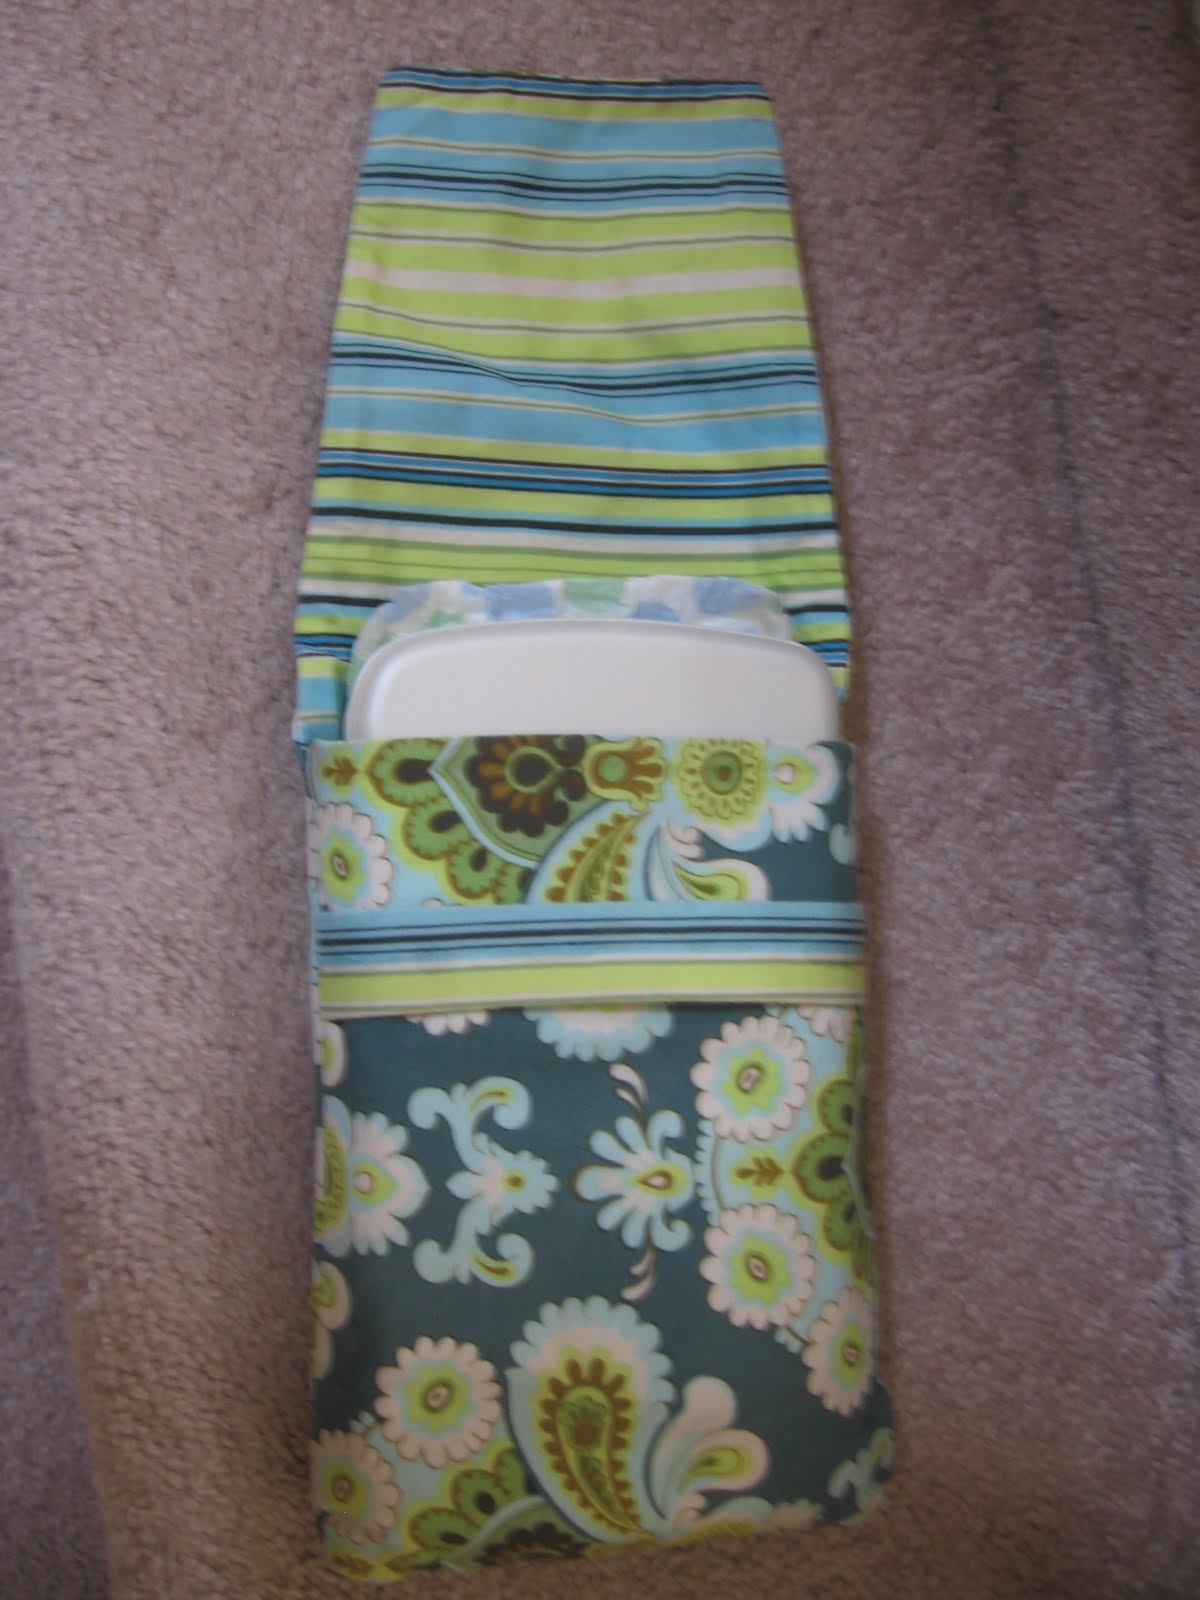
Now, most of you have come across this great baby accessory and now you can make one yourself. These make great gifts for baby showers and it's so fun to shop for fabric since it only takes 1/2 a yard! I received one of these for my first child and loved it!! My sewing friend Amy helped me recreate it and with her permission I am writing this tutorial so you too can make one for yourself or friend.
Materials:
1/4 yard print fabric
1/4 yard solid or contrasting fabric
1/4 yard interfacing
All sewing is 1/4 seam allowance except where noted
Step 1
Make sure fabric is washed and ironed. Then cut both the print and solid fabric 7 1/2 inches wide by 24 inches long.

Step 2
Cut a piece of interfacing the same size (7 1/2 inches by 24 inches) and iron it on the wrong side of the solid or contrasting fabric.

Step 3
Put the two fabrics right sides together and sew down 1/4 inch each side.

Step 4
Cut off 8 1/2 inches from your large rectangle and reinforce the ends by sewing back and forth on all four sides of your rectangle.

Then sew across on of the top. Cut the corners and turn inside out. Iron flat.
Step 5
With the rest of your rectangle, place the TOP of the diaper/wipee template 1/2 inch down the small side of the rectangle. Trace and then sew ON the traced line (there is no seam allowance here). Trim 1/4 inch away from what you have sewn and clip the corners. Turn inside out and press.


Step 6
Cut a 3 inches by 7 1/2 inches rectangle of the solid or contrasting. Sew long ways right sides together. Turn inside out.
*Sewing Tip* Take a safety pin and pin it to one end and push the safety pin through the hole out the other end and voila! It's inside out!!
Cut 3/4 inch of the interfacing and insert inside the holder piece and iron with the seam in the back.


Step 7
Take this holder piece and place it 2 inches below the top of the sewn part from your small rectangle (seam needs to not be showing). Place both of these pieces on top of the main fabric of your big rectangle that has been sewn on.


Step 8
Sew on each side 1/4 inch. Then 1/4 inch on the bottom and zig zag stitch it too for reinforcement and to keep from fraying. Now turn inside out and you are ready to take your baby out on the town! :)

WOW! You made it to the end! So the winner?
MICHELLE
Michelle said... those are really cute...I would use a boy one if I were to get one...and my summer is FUN!!!!!
Thanks for reading. Send questions or comments to strictlysewing@yahoo.com
NOTE: For the time being, if you would like the template please e-mail me at strictlysewing@yahoo.com and I will e-mail it to you. I need to figure out how to attach a word document to this blog. Do any of you know how to?


 The last half of August has been non-stop and September looks the same. I'm in charge of the last Primary Activity of the year and our Primary Program is Sept. 19th. Sorry no projects. My plan in October is to SEW, SEW, SEW!!!
 Then I got back to my list and remembered some cute owls I have been wanting to make. Since I had the stuffing out, I thought, I might as well tackle the owls.

 I think these owls are sooo cute!! I don't know why but I'm really into cute owls on fabric, clothes and accessories. Want to make one? Follow this tutorial that I used to make a cutie-patooty owl.


 WOW! You made it to the end! So the winner?


 Want one? Leave a comment letting me know whether you want one for a boy or girl and ONE word that describes your summer. The giveaway will close Monday night (August 2nd).


